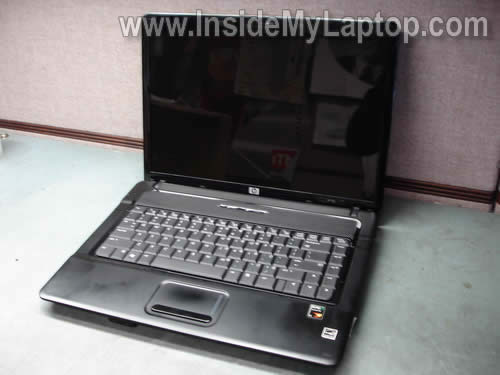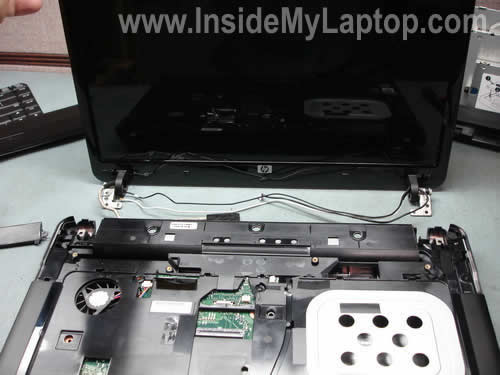
In this guide I explain how to access and replace the web camera in HP Compaq 6730s and 6735s notebooks.
The web camera is mounted inside the display panel above the LCD screen. In order to access and replace the web camera it’s necessary to disassemble the display panel.
Let’s start. First of all turn off the notebook and remove the battery.
STEP 1.
There are four screws securing the LCD bezel on the top of the display panel. These screws are hidden under four covers.

Remove all four covers with a sharp object and remove four screws found under those covers.
Screw covers have a sticky bottom. Glue them somewhere on the bezel so they don’t get lost.

STEP 2.
Start separating the LCD bezel from the display cover with your fingers. A guitar pick is very helpful and works great as a case cracker.

STEP 3.
Separate the LCD bezel from the display cover and access the web camera module.
The web camera is attached to the display cover with double sided tape.

STEP 4.
Carefully remove the web camera module and disconnect the cable on the right side.

STEP 5.
Now you can replace the web camera module with a new one.
In my laptop (HP Compaq 6735s) I used a new web camera with the following HP part number: 494110-001
Before the repair the web camera couldn’t start. Reinstalling the operating system and webcam driver didn’t help.
As soon as I replaced the web camera module, it started properly.

REMOVING LCD SCREEN
By the way, if you would like to disassemble the display panel and remove the LCD screen, you’ll have to remove four more screws on the bottom (hidden under four covers).

Unfortunately, you can remove the LCD bezel completely only when the display panel is separated from the notebook base.
In order to separate the display panel, follow steps 1-9 in this HP Compaq 6730s and 6735s guide.


